Security has been an interest for me for a long time. This is why Pwnagotchi piqued my interest. Using cheap hardware, you can create your own lightweight WiFi (and Bluetooth) sniffing device. Thanks to a known vulnerability in the WPA/WPA2 protocol, the Pwnagotchi can capture the handshake, which we can then use to crack the passphrase (more on that later).
My personal interest in this was largely to test my own OpSec to ensure my own WiFi wasn’t vulnerable to simple attacks like this. Fortunately, it wasn’t.
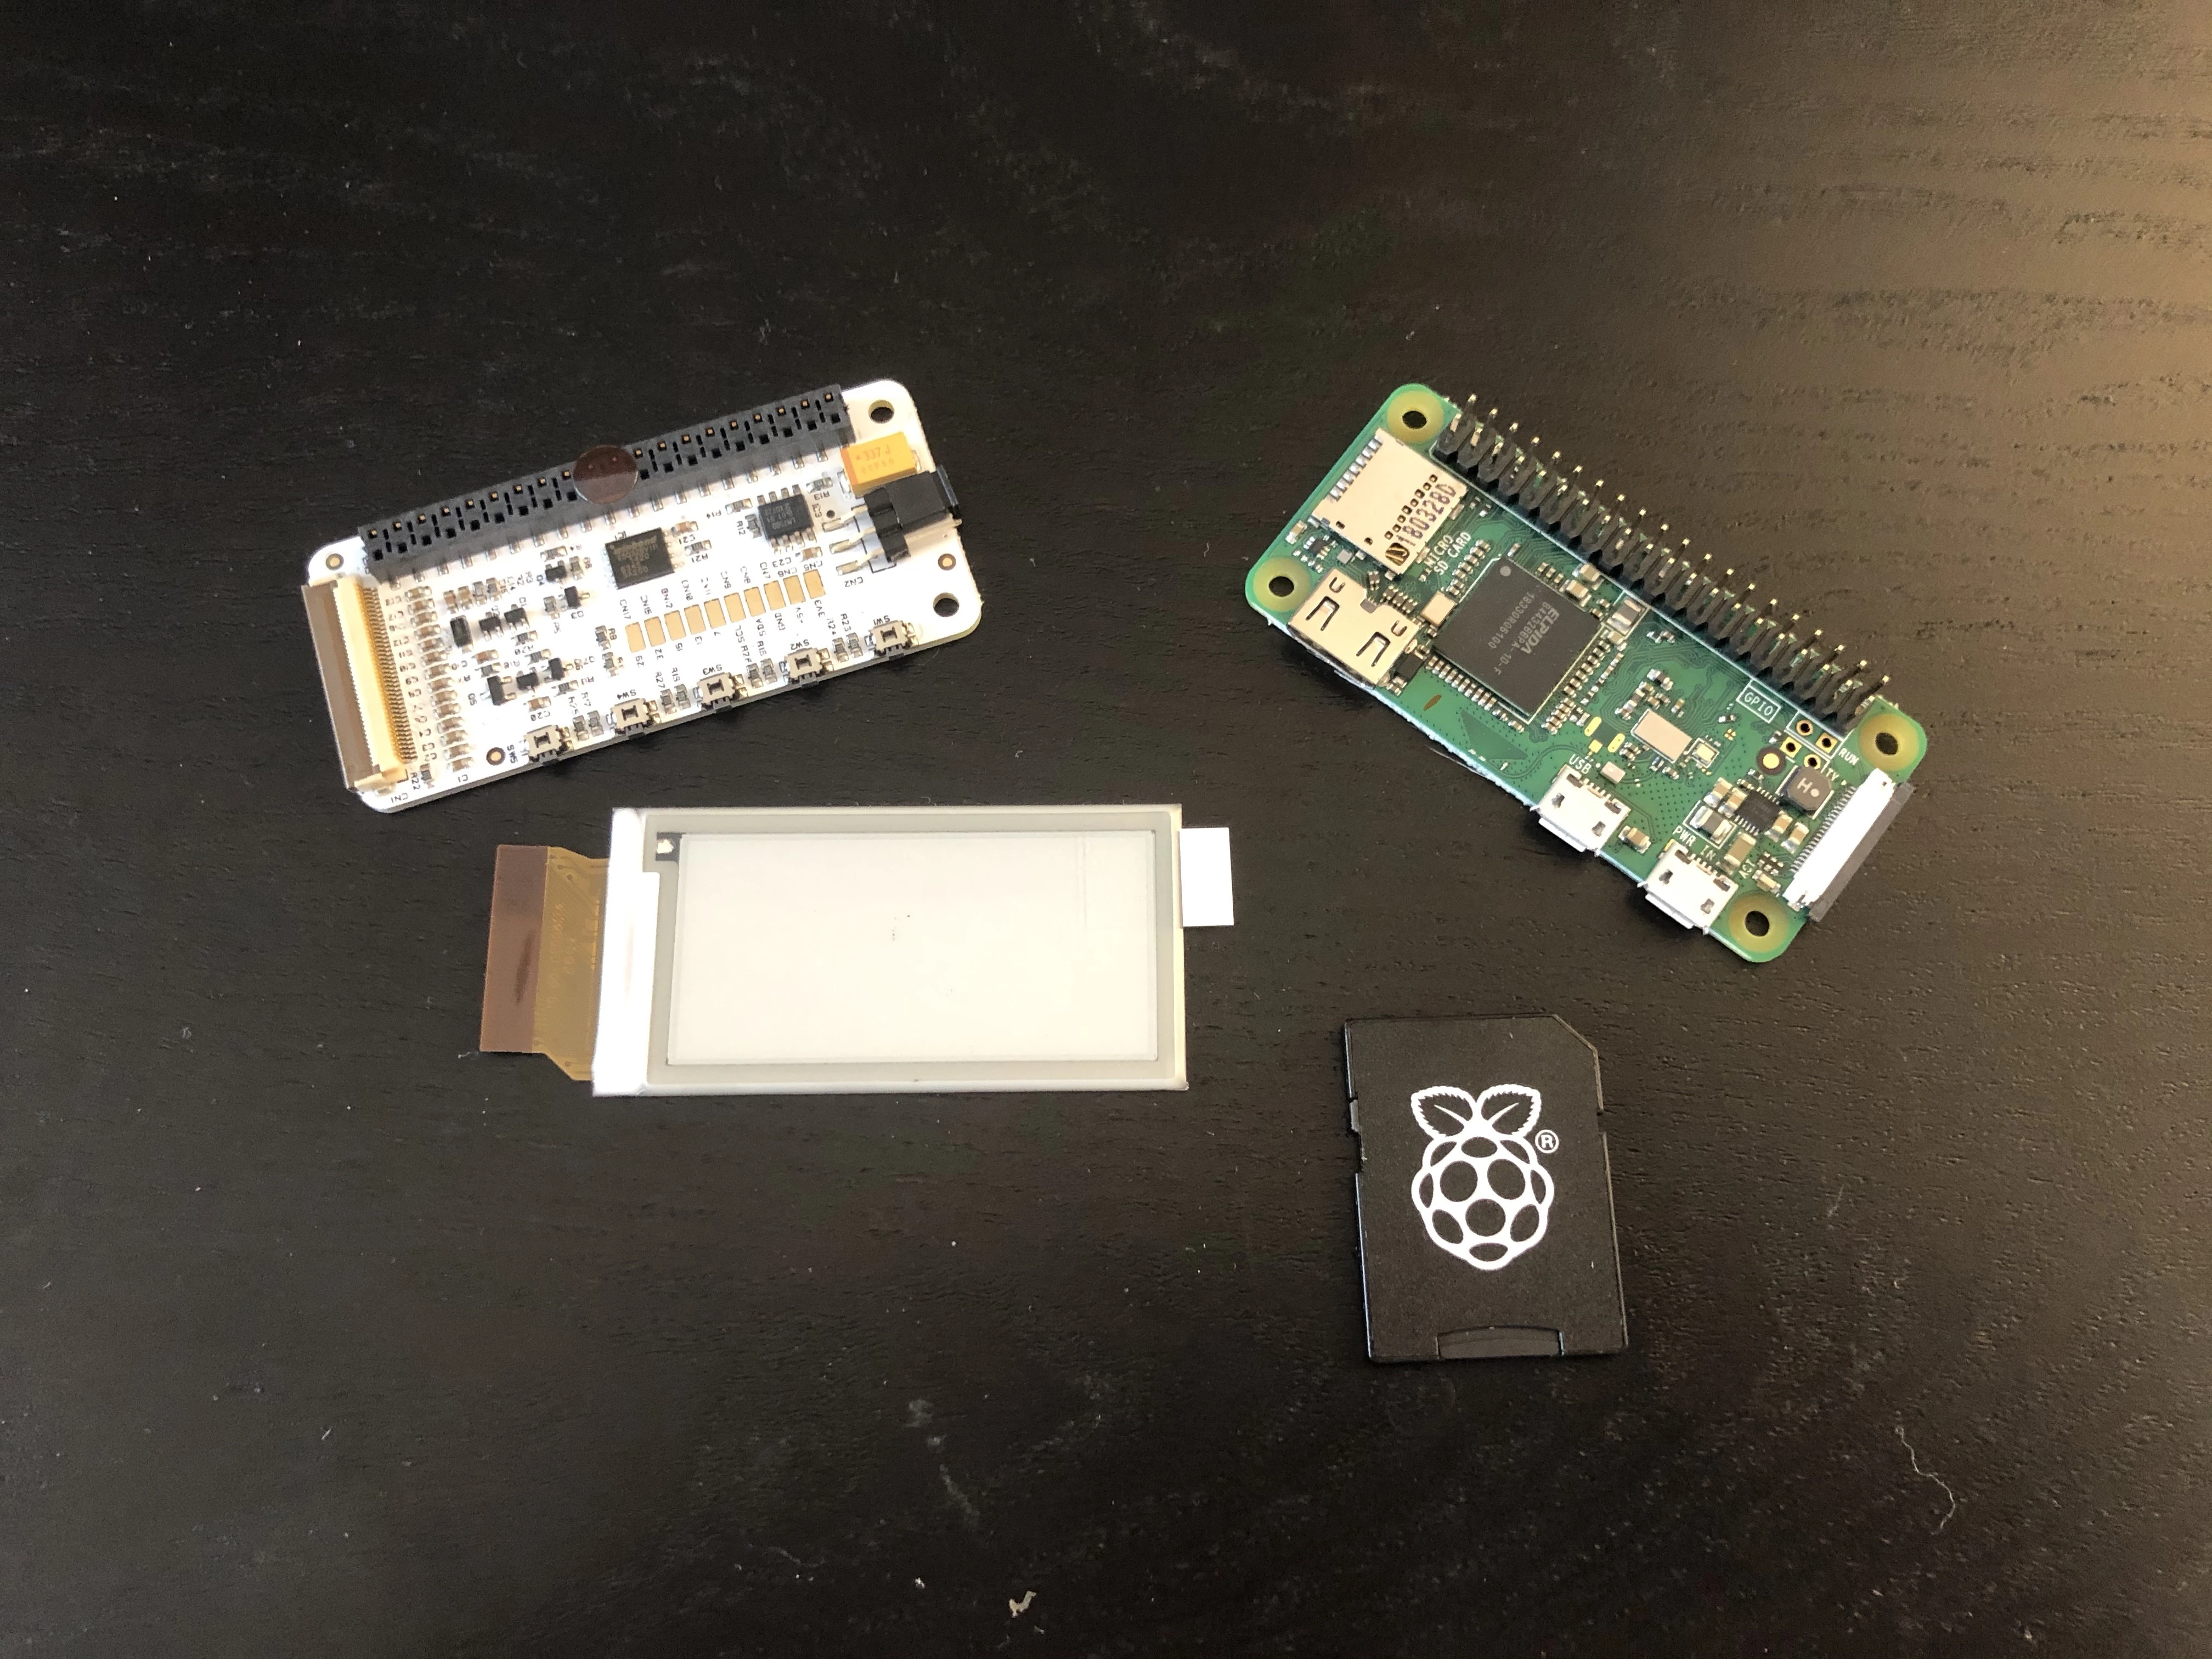
So what do you need to build your own Pwnagotchi? While it support multiple hardware, I used the following to build mine:

- A Raspberry Pi Zero W
- Please note that you will not be able to sniff 5Ghz WiFi with the Raspberry Pi Zero W, as it only support 2.4Ghz. To sniff 5Ghz WiFi, you need to either use a Raspberry Pi 3 Model B+/4 Model B (which draws much more power) or potentially use a USB WiFi adaptor.
- An SD card
- A PaPiRus Zero
- You probably want to get a Waveshare one instead, as this is the officially suported display
- A PaPiRus Zero Case
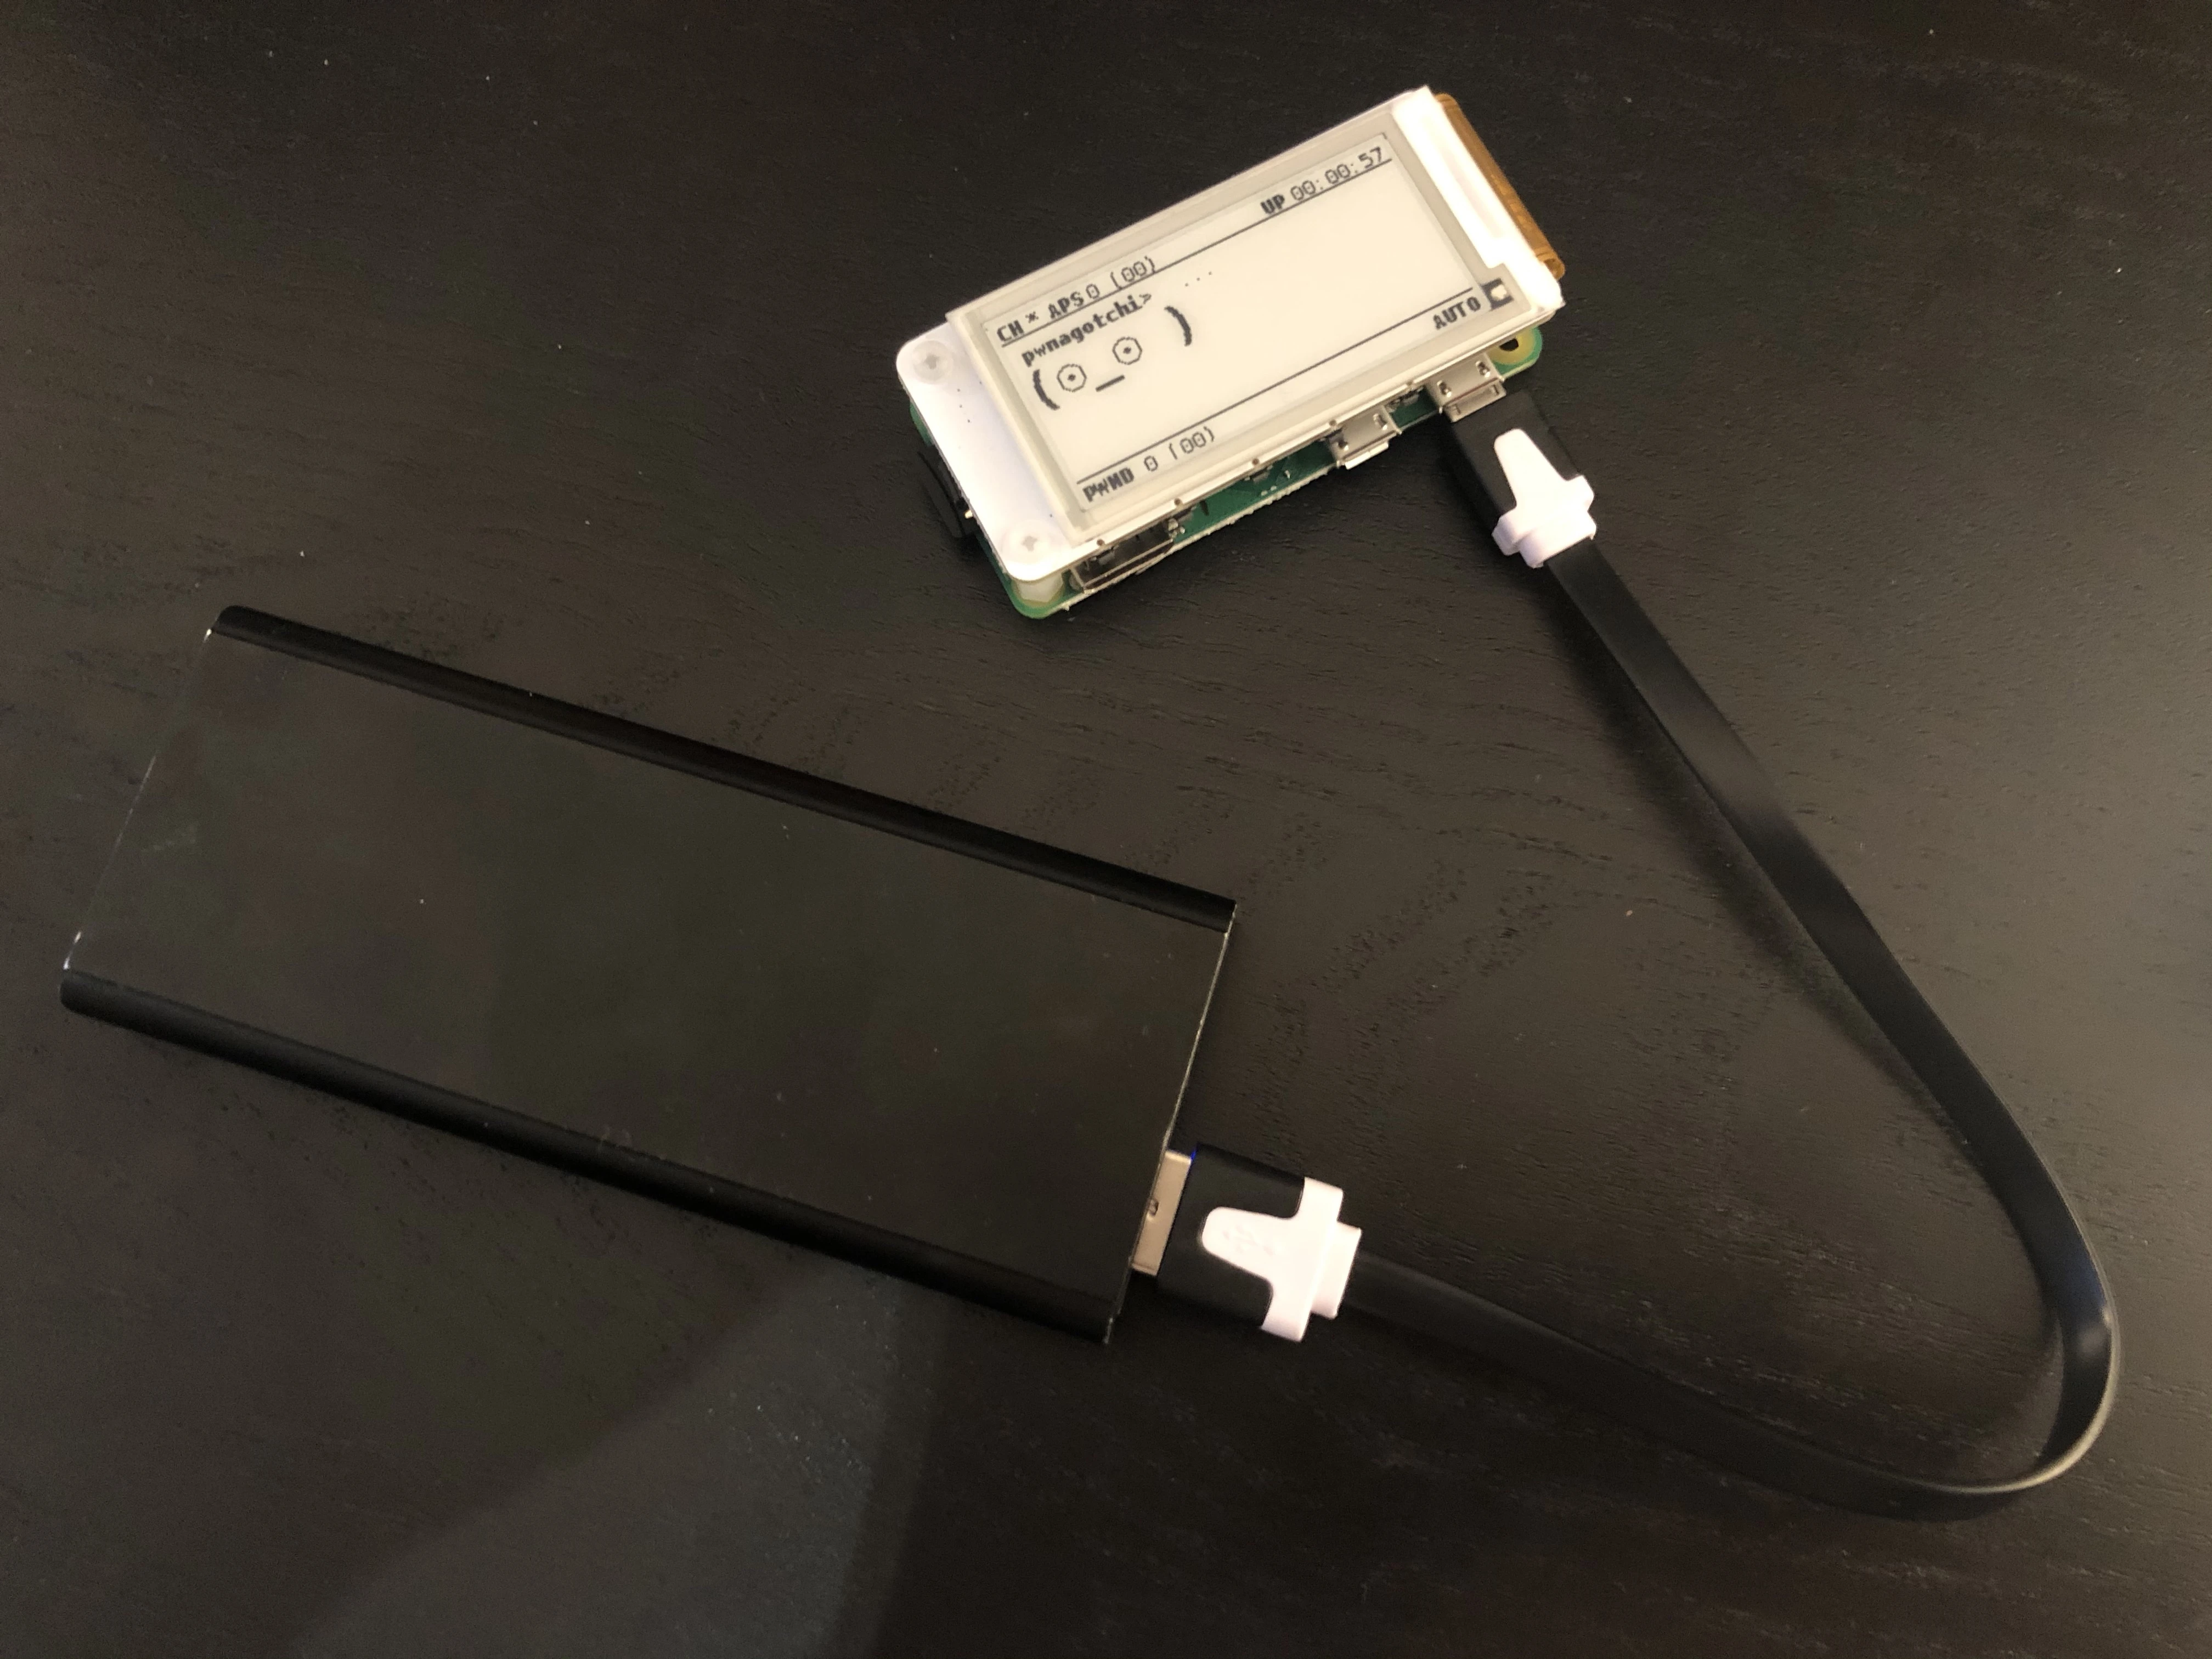
- A battery pack (most will do just fine)
- Two Micro USB cables
- Technically speaking, you only need one cable as you can power the device from the data port. However, having two cables allow you to drive say the Raspberry Pi from a battery pack and still read data from it without having to shut it down.
Once you have all your parts, simply go ahead and flash out the disk image to your SD card.
Since we are using a PaPiRus display, we need to make some configuration changes. The configuration file will look something like this:
main:
  name: 'pwnagotchi'
  whitelist:
    - 'YourHomeNetworkMaybe'
  plugins:
    grid:
      enabled: true
      report: true
      exclude:
        - 'YourHomeNetworkMaybe'

ui:
  display:
    type: 'papirus'
    color: 'black'
With this done, you should now have your own Pwnagotchi up and running and start showing data on the screen.

Please note that you should leave your device up and running for at least 30 minutes during the first boot for it to get properly configured, as it needs to do a fair bit of processing.
You can see the progress of the Pwnagotchi on the screen. Once it has captured some handshakes, you need to copy the files from the Raspberry Pi for processing, as the Raspberry Pi is nowhere near powerful enough for this. This is why we need our second MicroUSB cable. There are instructions here on how to do this.
With a data connection to your Pwnagotchi established, you should be able to see the .pcap files under /root/handshakes/. Copy these files to your computer (ideally one with a powerful GPU).
We now need to first convert the .pcap file(s) to a .hccapx file(s), as well as downloading the dictionary we want to use to crack the WPA/WPA2 key. You can find details on how to do that here.
(hashcat is available from Homebrew on macOS.)
If you’ve followed the instructions, you should be able to do this:
$ hashcat -m 2500 foobar.hccapx rockyou.txt
[...]
Depending on your hardware, this will take 30 minutes to hours. At the end of the result, if you’re lucky (or unlucky), you will see your WiFi passphrase listed.
While we’ve only covered how to capture WPA/WPA2 handshakes in this article, Pwnagotchi is capable of even more. You can read more about that here.
Happy hacking!
Enjoyed this post? Check out my podcast!
If you found this interesting, you might enjoy "Nerding Out with Viktor" - my podcast where I dive deep into tech, entrepreneurship, and security with industry experts.


